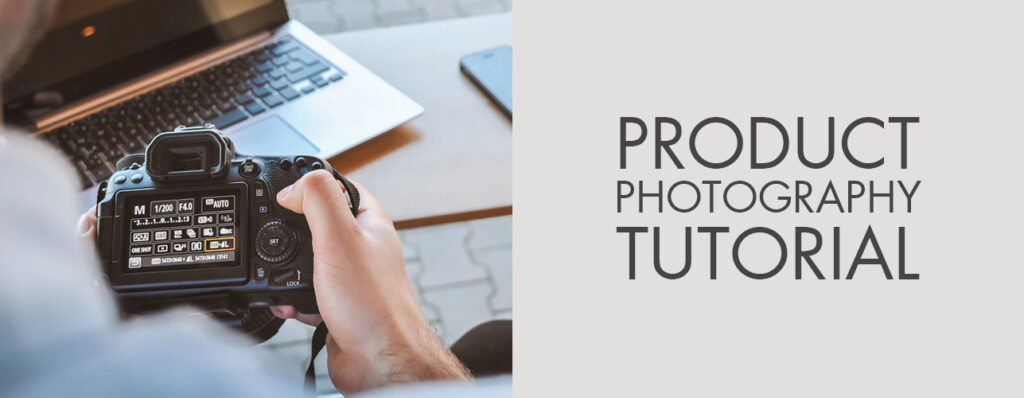
Product Photoshoot Tutorial
Product Photoshoot Tutorial – A Complete Beginner’s Guide
📸 Product Photoshoot Tutorial – A Complete Beginner’s Guide
In today’s digital marketplace, high-quality product photography plays a crucial role in attracting buyers and building brand trust. If you are looking for a Product Photoshoot Tutorial, this step-by-step guide will help you capture professional-looking images even without expensive gear.
Why Product Photoshoot Matters
Before diving into the Product Photoshoot Tutorial, it’s important to understand why product photography is so powerful. Great images not only showcase your product but also influence customer decisions, increase sales, and improve your brand image.
Step 1: Prepare Your Product
Always clean and polish your product before shooting. A well-prepared product saves you time in editing. Dust, scratches, or fingerprints can distract from the quality of the image.
Step 2: Choose the Right Background
For e-commerce platforms, a white or neutral background works best because it keeps the focus on your product. If you want lifestyle shots, consider using creative textures like wood, fabric, or natural surroundings. A Product Photoshoot Tutorial always emphasizes the importance of background selection.
Step 3: Lighting Setup
Lighting is the backbone of every professional product photoshoot. Natural window light is excellent for beginners, while artificial lighting with softboxes or ring lights gives you more control. The golden rule is to avoid harsh shadows and maintain soft, even light.
Step 4: Camera & Equipment
DSLR/Mirrorless: Use aperture f/8–f/11 for sharpness.
Smartphone: Modern phones with portrait or pro mode work great.
Tripod: Always stabilize your camera for consistent results.
A Product Photoshoot Tutorial should encourage consistency in angles and setup to maintain brand identity.
Step 5: Shoot from Multiple Angles
Eye-level: Neutral and realistic.
45-degree angle: Shows depth.
Top-down (flat lay): Perfect for small or multiple products.
Close-up: Highlights details and textures.
Step 6: Post-Processing & Editing
Editing is where your raw photos turn into polished visuals. Use tools like Photoshop, Lightroom, or Snapseed to adjust brightness, contrast, and colors. Remove imperfections and keep tones consistent.
If you want professional results, you can also outsource editing to services like Photo Retouching Ltd.
Step 7: Export & Optimize
After editing, save your photos in high resolution but also compress them for web use. Consistent image size and style improve user experience and boost SEO performance.
Final Thoughts
This Product Photoshoot Tutorial proves that you don’t need to be a professional photographer to capture stunning product images. With the right preparation, lighting, and editing, you can create photos that elevate your brand and increase conversions.
#ProductPhotoshoot
#ProductPhotoshootTutorial
#ProductPhotography
#ProductPhotographyTips
#PhotographyTutorial
#EcommercePhotography
#ProductPhotographyLighting
#DIYProductPhotoshoot
#ProductPhotographyIdeas
#ProductPhotographyGuide
#StudioPhotography
#CreativeProductPhotoshoot
#PhotographyForBusiness
#OnlineStorePhotography
#HighQualityProductPhotos
#ProfessionalProductPhotoshoot
#ProductImageEditing
#PhotoRetouching

